November 26, 2010

Vanilla & Chocolate Cream


I remember when I was a child my mum was always around the kitchen preparing at least three healthy meals for us. Somehow she found the energy to run a house, without any help, take care of four very active kids and cook! I also remember we often had homemade bread, homemade butter (!), yummy cakes and desserts.
One of the desserts that remind me a lot of my childhood is Vanilla and Chocolate cream. It is a very simple recipe that tastes delicious. I had cooked it for our family in Hong Kong a couple of times already following strictly my mum’s recipe. This time, however I decided to adapt the recipe and add chopped dark and milk chocolate. The result was a perfect combination of flavours.


I started chopping the two types of chocolate. Next was the vanilla cream. In a sauce pan I mixed milk, condensed milk, corn starch, butter, egg yolks and vanilla extract. Brought the pan to the stove and stirred constantly until boiling.


For the chocolate cream I mixed milk, cocoa powder, corn starch and sugar in another saucepan and again brought to the stove and mixed until boiling.


I served the dessert in 6 small cups alternating layers of vanilla cream, chopped chocolate and chocolate cream. At the top, a tablespoon of meringue.


Chocolate and Vanilla Cream Dessert Recipe

100g milk chocolate chopped
100g dark chocolate chopped

Vanilla Cream
1 cup of milk
1 can of condensed milk
1 ½ tablespoons corn starch
1 tablespoon of butter
2 egg yolks
½ teaspoon of vanilla extract

Chocolate Cream
500ml of milk
1 ½ tablespoons corn starch
2 tablespoons of sugar
3 tablespoons of unsweetened cocoa powder

Meringue
2 egg whites
4 tablespoons of caster sugar


November 21, 2010

Stuffed Mushrooms


I think I am addicted to mushrooms! They are one of my favorite foods and I love that I can mix them with a variety of dishes and it is always going to taste better. A while ago I saw a recipe of stuffed mushrooms and went straight to the kitchen to try. In all honesty it wasn't what I expected. It tasted nothing (don't ask me why...) and the mushrooms were way too dry. So, last week after a trip to the market with more time than usual I came back home thinking again about Portobello mushrooms and how I could cook them.

I came up with the recipe below, which is quite simple and easy to follow. It was the first time I tried and the result was outstanding. I hope you like it as well.

Stuffed Mushrooms Recipe

1 tablespoon of olive oil
½ cup of chopped green peppers
½ onion chopped
2 gloves of garlic
1 medium tomato chopped
3 Portobello mushrooms
½ cup of chicken broth
Grated mozzarella cheese
Salt
Black pepper
Green onions


In a skillet add the olive oil and saute the onions and the garlic until tender. Add the green peppers and cook for 2 minutes. Add the chopped tomato and the chicken broth and let is simmer until reduced to half.

Clean the mushrooms and remove the gills. Season them with salt and pepper. Add the cooked vegetables to the mushrooms and arrange them in a baking pan.


Bring the mushrooms to the pre-heated oven and cook them for 10 minutes in medium temperature. Remove the mushrooms from the oven add the mozzarella cheese and bake them for 2 more minutes to melt the cheese.

Spread the finely chopped green onions on each mushroom and it is ready to be served.


November 16, 2010

Chicken and Broccoli Pie


Yesterday evening after having a busy day I've got home feeling like I needed some time in the kitchen to de-stress. It usually works very well and after a while I feel relaxed and excited anticipating the taste of my next "project". Yes, dinner was ready already but I still wanted to cook!

I started looking around in the kitchen not knowing exactly what to cook and found out we had some chicken sauce frozen and also a frozen shortcrust pastry. Haha! Perfect combination. It seemed easy. Chicken and broccoli pie with ready-made shortcrust dough. Just a little stretching here and there, combining the filling and done.

Ok, have to confess it wasn't that easy, neither relaxing. As I said the shortcrust pastry was frozen and since I wasn't sure I could defrost it in the microwave (I'm still not…) I decided to do my own homemade version and for that nothing better than a quick video from you tube with a recipe from Jamie Oliver. Oh my, I need to get real. He did that pastry in two minutes (at least in the video) and I spent at least ten just trying to get the proper proportion of butter and flour to work. At the end with a little addition of cold water it worked.

Next step was to open the dough until it was about 2mm thick, transfer it to the baking pan and try to take the first picture for this post. Oh frustration! My camera runned out of battery! If one day a real food blogger reads this post will probably have a good laugh of my amateurism. Anyway, since determination is one my virtues, I decided to charge the battery while I was preparing the filling. Mixed the chicken sauce with broccoli, mushrooms, peeled tomatoes and some spices. Beated the eggs and mixed with the sour cream and spent some time cleaning the kitchen, still waiting for the battery to charge. After a quick update on internet, went back to the kitchen and transferred the filling to the baking tray (by the way, the pastry was in the fridge this whole time, to keep it cool) and poured the eggs and sour cream mix on top. Ended with some grated parmesan cheese on top.


 I baked the pie in a 200 degrees C pre-heated oven for about 25 min until it was golden and crispy.


And this was dinner. Was it worth? Oh yes, I could hear my husband saying "yum" several times. Was I feeling relaxed? Not quite sure, however no doubts I forgot about my busy day.


Chicken and Broccoli Pie

Shortcrust Pastry
300g of all purpose flour
150g of butter
3 tablespoons of cold water

Filling
2 cups of cooked and shredded chicken breast
½ cup of tomato sauce
1 cup of broccoli
1 cup of chopped mushrooms
3 beaten eggs
1 can of sour cream
Grated parmesan cheese

Chocolate Chips Cookie


 Another Saturday project…. My daughter Maria complained last week that I didn’t post anything she liked in MyVerySmallKitchen! I knew she was just asking for some extra attention since I had just returned from a three days trip to Bangkok. After few minutes debating what “she liked” we decided for Chocolate Chip Cookies. I have to confess that I am not a “cookies” person. I appreciate that a lot of people love them but it was never one of my preferred picks.

Another confession is that since I’m not a big fan of cookies I didn’t have a Chocolate Chips Cookie recipe. To internet I had to go and in seconds I found several very promising recipes. The one we chose, and I say “we” because Maria had very strong opinions about what a cookie should look like or taste, was a recipe called “Chocolate Chocolate Chip Cake Cookies” from allrecipes.com.

Since I had done my bit of research during the week on how to make “the perfect cookie” I adapted the original recipe. This is what I used:

 200g of cold unsalted butter
100g of brown sugar
150g of white sugar
2 eggs
1 teaspoon of vanilla extract
250g of white flour
1/2 teaspoon of baking soda
1/2 teaspoon of table salt
100g of unsweetened cocoa powder
1 1/2 cups of semisweet chocolate chips

Maria helped me and we started separating everything we would need for this recipe, measuring all ingredients. Next, I mixed the cold butter and the sugar with my hand mixer for about 10 minutes until the butter became fluffy and light.


The two eggs and the vanilla extract were added to the butter and sugar dough one at a time and mixed very well until totally incorporated. In a separate bowl we mixed all the other dry ingredients except the chocolate chips (flour, baking soda, salt and cocoa powder). We added the dry mixture to the butter dough and kept using the hand mixer for more 5minutes.


Next we stirred in the chocolate chips and at this point I have to tell you that I got a little girl in action….I don’t blame her, the dough smelled and looked great!

We scooped the chocolate mixture in a baking tray and flattened each scoop a bit to look like a cookie. We transfer the baking tray to the fridge and left it stay for 30 minutes. 


The cookies were baked in a preheated oven (200 degrees C) for about 15 minutes. I removed them from the baking tray and placed each cookie in a drying rack to cool down. 

 And this is how the cookies looked after cooling. Delicious, chocolaty, crunchy  in the outside and chewy on the inside. Just perfect for a Saturday afternoon.


 For the original recipe click here.

Chicken and White Sauce Lasagna


My weekend project was homemade chicken lasagna. I honestly don’t know one person that doesn’t like a well made lasagna. Here, in our home it is a winner. Everyone likes it. I grew up with my Dad cooking his special lasagna recipe everytime he wanted to give my Mum a break from the kitchen.  His recipe is a simple ham, cheese and tomato sauce lasagna that I plan to post here in another occasion.
Since I was already researching recipes for homemade pasta I decided I would be making my own lasagna sheets (of course this was also an excuse to use my new pasta machine I had bought a while ago and never used so far). I guess I don’t need to tell you that this “lasagna project” turned into an adventure of three hours! It involved several pairs of hands and an incredible amount of flour scattered around the living room (because obviously this isn’t a recipe I could make in myverysmallkitchen...).


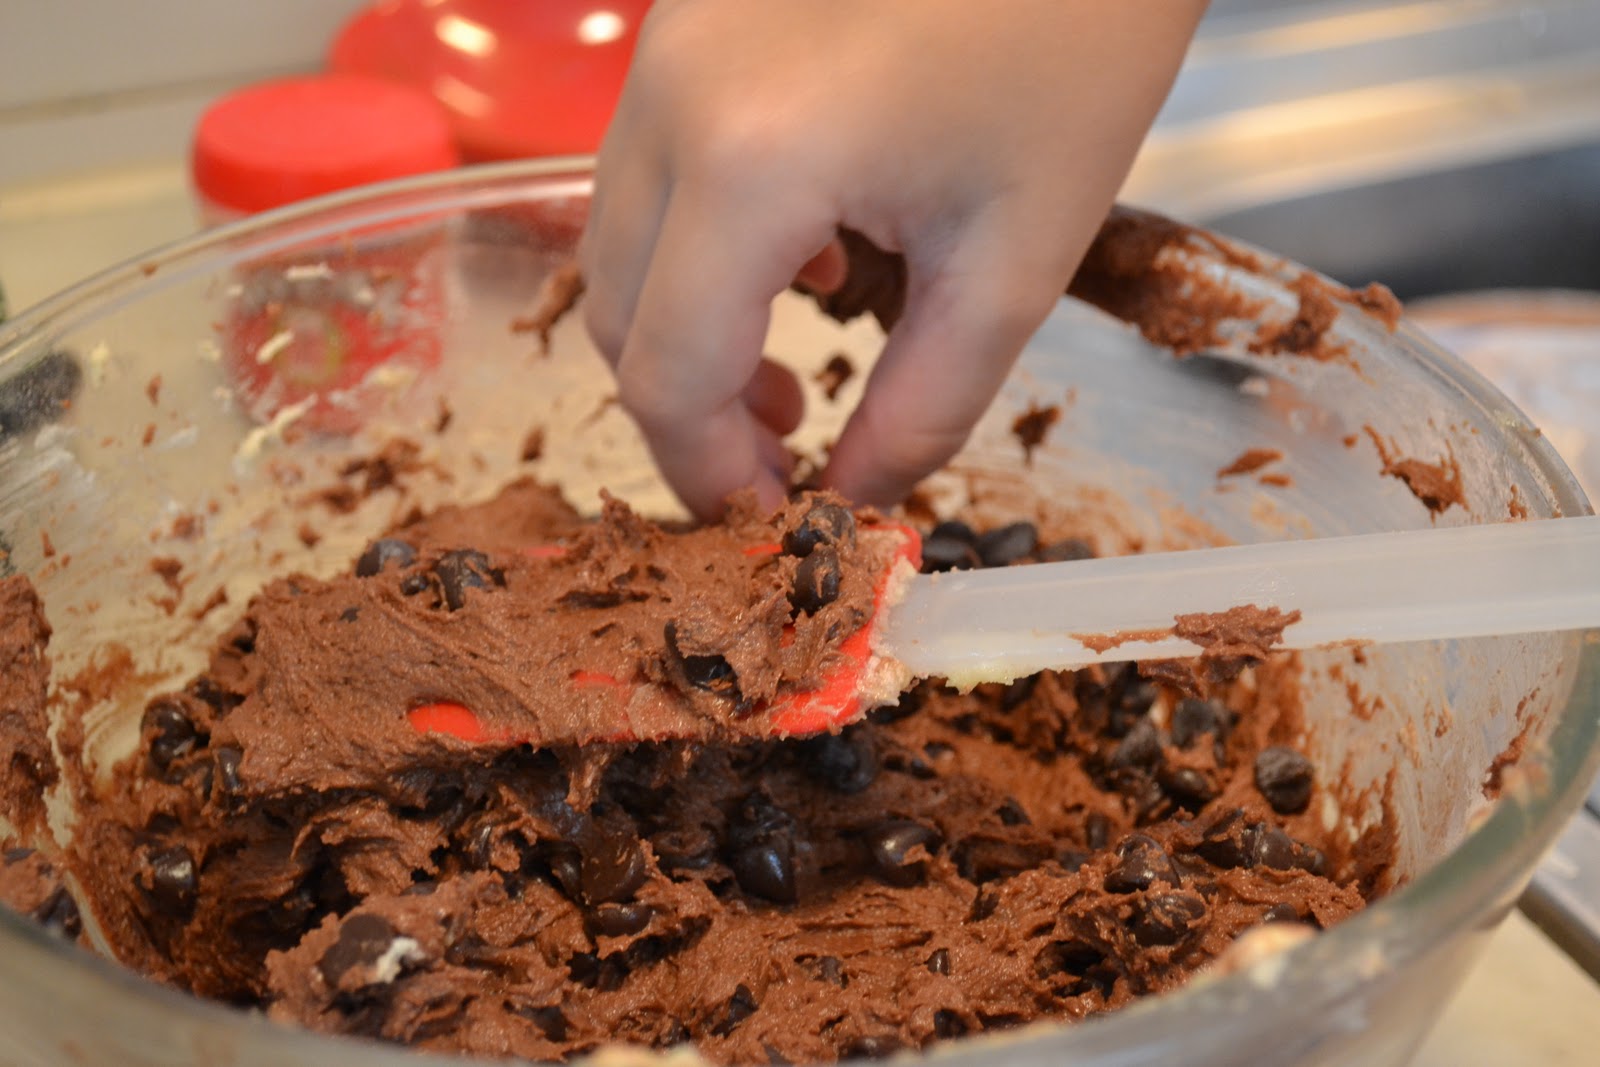
I started measuring the flour. Homemade pasta can be made by hand or in a food processor. In this recipe I used the processor to be quicker. I mixed the flour and eggs for 2 minutes at medium speed and then transfered the dough to a floured surface. Then, I kneaded the dough a bit and added a teaspoon of olive oil to make it a bit more elastic. (This is one trick I learned while searching for the best recipe. It works). I kneaded the dough a little more incorporating the oil until it became homogeneous.


Next, I cut the dough in three parts and opened each part using a rolling pin prior to start passing the pasta in theNext, I cut the dough in three parts and opened each part using a rolling pin prior to start passing the pasta in the pasta machine. Since it was the first time I was using the pasta machine I had some “operational” problems but at the end it worked well. The pasta sheets were about 2mm thick. Just remember it is important to add flour to the surface where you will extend the pasta otherwise it will stick to it. I cut the pasta sheets the size of the baking dish I was going to use and floured them on both sides to prevent the sheets sticking to each other.


Once the pasta was done I cooked the two sauces. For the chickent sauce, I added the oil to a medium saucepan and cooked the onions over low heat for 5 minutes. Then, added the chopped tomatoes and green peppers and cooked for another 3 minutes on medium fire. Next, added the shredded chicken, spices and salt, mixed it well and let it to cook for more 5 minutes still on medium fire, stirring from time to time.  At last, I added the chicken broth and tomato paste and let it simmer for 5 minutes more.


The white sauce is the part that needs more care to prevent sticking in the pan. I usually start by melting the butter in a saucepan over low heat until it begins to foam. Add the flour and mix well. This mixture forms a ball of flour in the pan. Then, slowly I whisk the milk in until all the flour is dissolved. From this point, I mix the sauce constantly until boiling. Add salt and pepper to taste.
The next step was assembling the lasagna but before that I turned on the oven to 200 degrees C.  Grease the baking dish with oil and start alternating layers of pasta and sauce. I started with a layer of pasta and chicken sauce. Next, a layer of pasta, white sauce and sliced mozzarella cheese.  I repeated the layers until close to the edge of the baking dish and finished up with a layer of white sauce and grated parmigiano reggiano cheese.


Bring the lasagna to the oven and let is cook for 30-40 minutes.


Chicken and White Sauce Lasagna Recipe

Homemade Pasta
300 g of wheat flour
3 eggs
1 teaspoon olive oil

Chicken Sauce
2 tablespoons canola oil
1 medium onion chopped into small pieces
2 ripe tomatoes, peeled and seeded, chopped
1 / 2 chopped green bell pepper (optional)
2 chicken breasts cooked and shredded
2 tablespoons tomato paste
1 teaspoon oregano
1 teaspoon salt
1 teaspoon ground black pepper
1 / 2 teaspoon rosemary (optional)
2 cups chicken broth

White Sauce
2 cups milk
3 tablespoons flour
2 tablespoons butter or margarine
1 / 2 teaspoon salt
1 / 2 teaspoon ground black pepper

To assemble the lasagna
1 tablespoon oil
200g mozzarella cheese, sliced
Grated Parmiggiano Reggiano cheese


Condensed Milk Caramel Flan


Deciding what I would cook for my first post was not easy. It is a big decision because this is my first recipe being shared with you. I wanted something special and simple and absolutely delicious. The recipe had to be mouth-watering and easy to be followed (and written and explained …).

So, there we go. I decided for a very traditional Brazilian dessert, Condensed Milk Caramel Flan. Besides being a national temptation this is also a traditional recipe in my family. My Grandma cooks a fantastic flan and she taught my mum, who decided to change the recipe just a bit and created something scrumptious. Every time I go back home this is what I ask her to cook for me and when she meets me at the airport she always says “your caramel flan is ready just waiting for you” (trust me here, I could eat it all by myself).

To prepare this dessert you will need condensed milk, eggs, sugar and milk. The first thing to do is melt the sugar in an aluminum ring mold. For me this is the “hardest” part of the recipe. You have to do it in low flame, in the stove top, spreading the sugar on the sides and bottom of the mold. I like to hold the mold and turn it around to spread the caramel until it becomes golden brown. Let the mold cool down.


The next step is to mix the eggs, the condensed milk and the milk in a blender for approximately 2 minutes depending on the speed of your blender. Transfer this mixture to the ring mold and cover with a lid (if your ring mold doesn’t have one you can use foil paper, just make sure it is well sealed). Bring it to cook in the stove top in bain marie (water bath) for 1 hour. Let it cool down and transfer to the fridge where it should stay for at least 4 hours.


To remove the flan from the ring mold run the tip of a knife around the inside of the mold. After invert the mold in a flat round serving plate. The flan should slide out easily.


Condensed Milk Caramel Flan Recipe

Caramel Sauce
¾ cup of sugar

Custard
1 can of condensed milk
1 can of milk (I use the condensed milk can to measure the milk)
3 eggs